Sounds so simple right?
Yep! but you know what Leonardo Da Vinci said, "simplicity is the ultimate sophistication".
In the process of establishing a new B2B startup within the manufacturing industry, I decided to turn myself into a full-stack engineer and build everything singlehandedly as pragmatic, cost efficient, yet easily to scale approach as possible.
For the deployment, I explored various options like Vercel, Fly.io, and Heroku, but I ultimately chose DigitalOcean for a few key reasons—competitive pricing, a $200 voucher for 60 days, and the fact that Venopi also uses DigitalOcean. If you're still deciding, Zell wrote a concise piece on this that I found quite agreeable.
During the process of deployment, I bumped into some issues that unable me to proceed. Aka, my build failed and I couldn't figure out why.. The error messages & troubleshooting hints were too "open", such as Build Error: Job Failed, Failed during deploy/build phase, Out of Memory, and eventually Deploy Error: Health Checks.
My point is, I went through those errors so that you don't have to. Below is the step by step setup that I use for my SvelteKit project. Keep in mind that of course if your setup is different, then it might affect your build/deploy process. However if you are trying to deploy a "common" SvelteKit project, this should do the trick. Else, holla at me and I will do my best to help :)
DigitalOcean setup
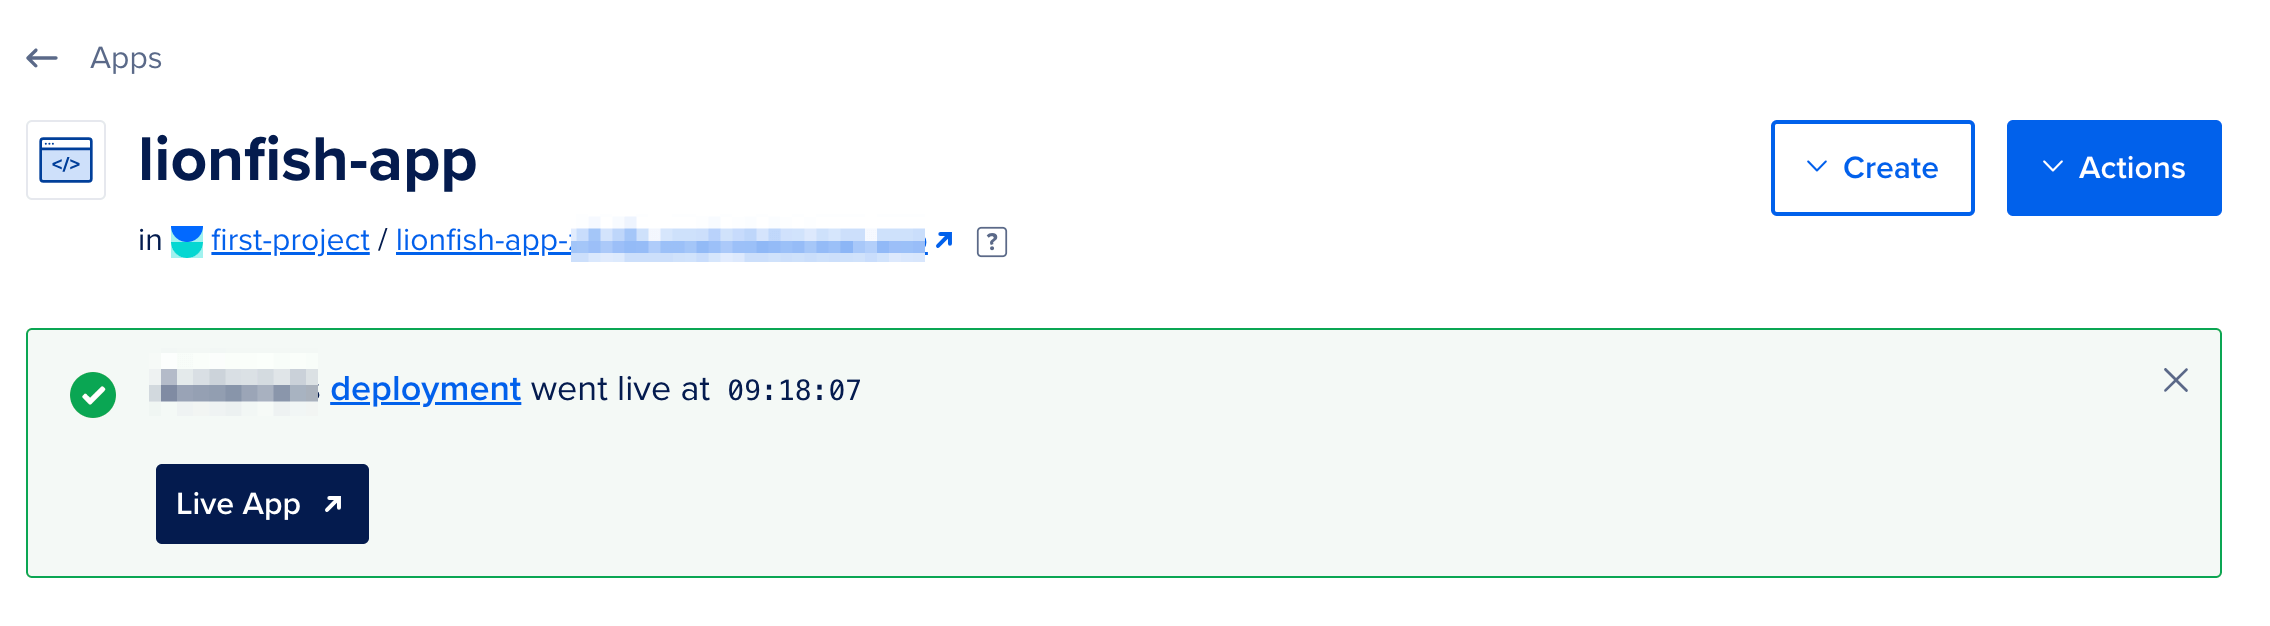
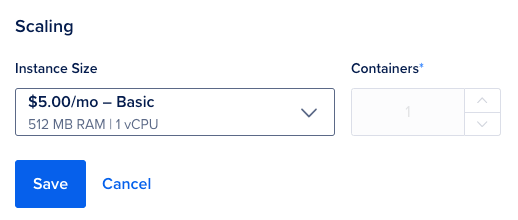
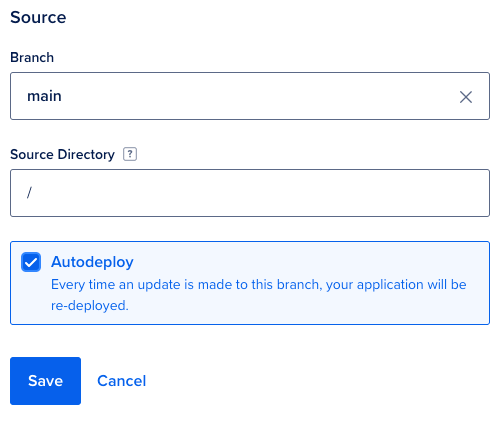
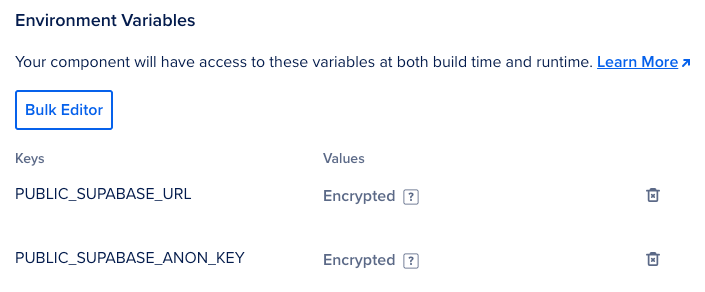
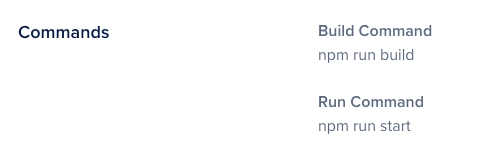
First things first, click "App" on the sidebar and connect your GitHub project. Then follow these setup:

SvelteKit setup
Right! Now let's do the setup on SvelteKit! Good to know is that I am using `svelte v4.2.7` and `SvelteKit v2.0.0` for this current setup. First, set the correct engines:
// package.json
{
    "engines": {
        "node": "18.x",
        "npm": "^9.6.7"
    },
}
Then the `scripts` commands. The `start` commans is important.
// package.json
{
    "scripts": {
		"dev": "vite dev",
		"build": "vite build",
		"preview": "HOST=0.0.0.0 vite preview --host",
		"start": "node build/index.js",
		"build:digitalocean": "npm install --production=false && npm run build && npm ci",
		"check": "svelte-kit sync && svelte-check --tsconfig ./jsconfig.json",
		"check:watch": "svelte-kit sync && svelte-check --tsconfig ./jsconfig.json --watch",
    },
}
Make sure you install "@sveltejs/adapter-node": "^2.0.2":
npm install @sveltejs/adapter-node --save-devAnd adjust the `svelte.config.js` accordingly:
// svelte.config.js
import adapter from '@sveltejs/adapter-node';
import { vitePreprocess } from '@sveltejs/vite-plugin-svelte';
const config = {
	kit: {
		adapter: adapter()
	},
    preprocess: vitePreprocess()
}
export default config;
Ok that's it! Now you can commit and push the changes to the `main` branch of your GitHub.